A level editor lets you build scenes without describing every element in the game’s source code. This project brings together the tools I developed for creating two-dimensional maps.
Before writing an editor, consider an existing tool such as Tiled. Building your own can make sense when you want to learn how it works or meet specific project requirements.
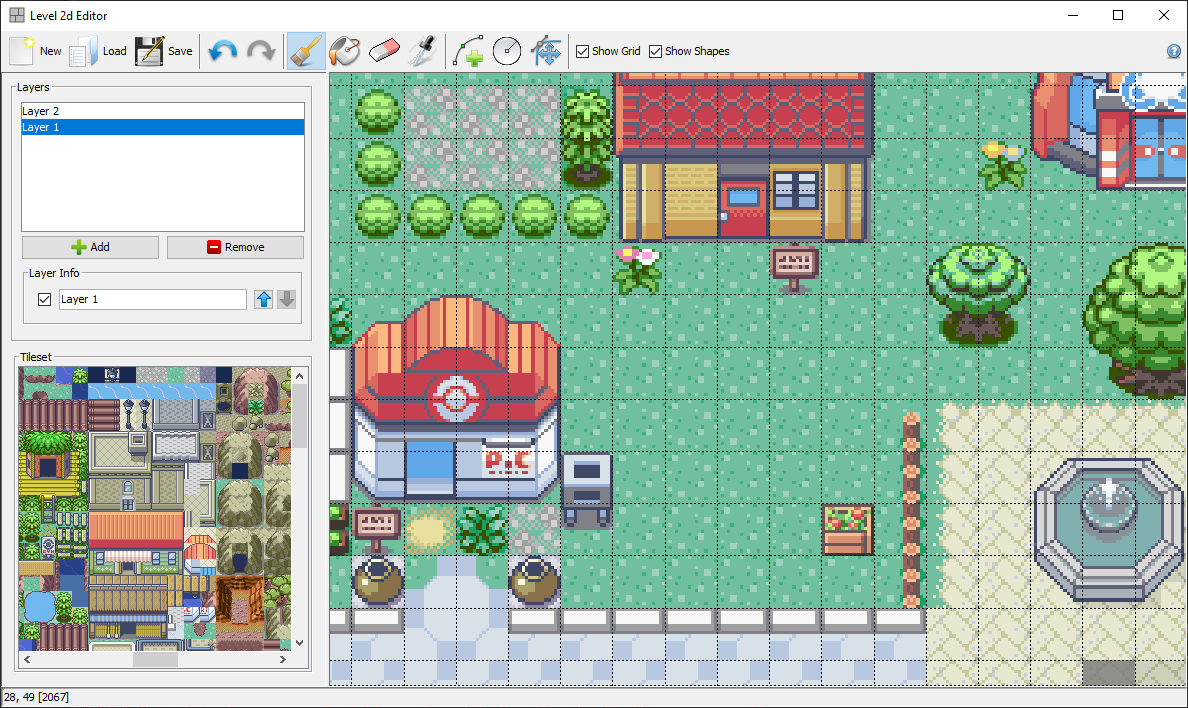
Editing tools

- Documents: create, load, and save levels.
- History: undo and redo operations.
- Pencil, bucket, and eraser: place, fill, or remove tiles.
- Eyedropper: identify and select the tile in a cell.
- Polygons and circles: describe shapes for collision detection.
- Vertex selection: adjust polygons on the active layer.
- Visual aids: show the grid and collision shapes.
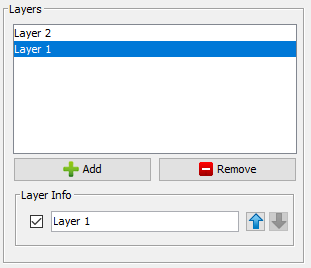
Organise the map into layers
The Layers panel manages the level’s layers. Keeping them separate makes it possible to work on different parts of the scene without mixing all their elements together.
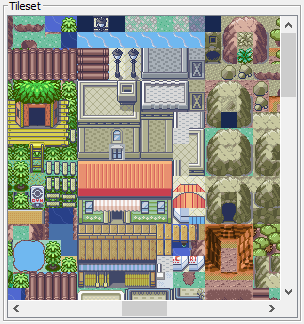
Choose tiles from the tileset
The Tileset panel shows the tiles available for painting the map.
The project is a reference for structuring your own editor and its tools. The 3D level editor takes the idea into another dimension.